A Super Simple Perspex Raspberry Pi Case/Stand
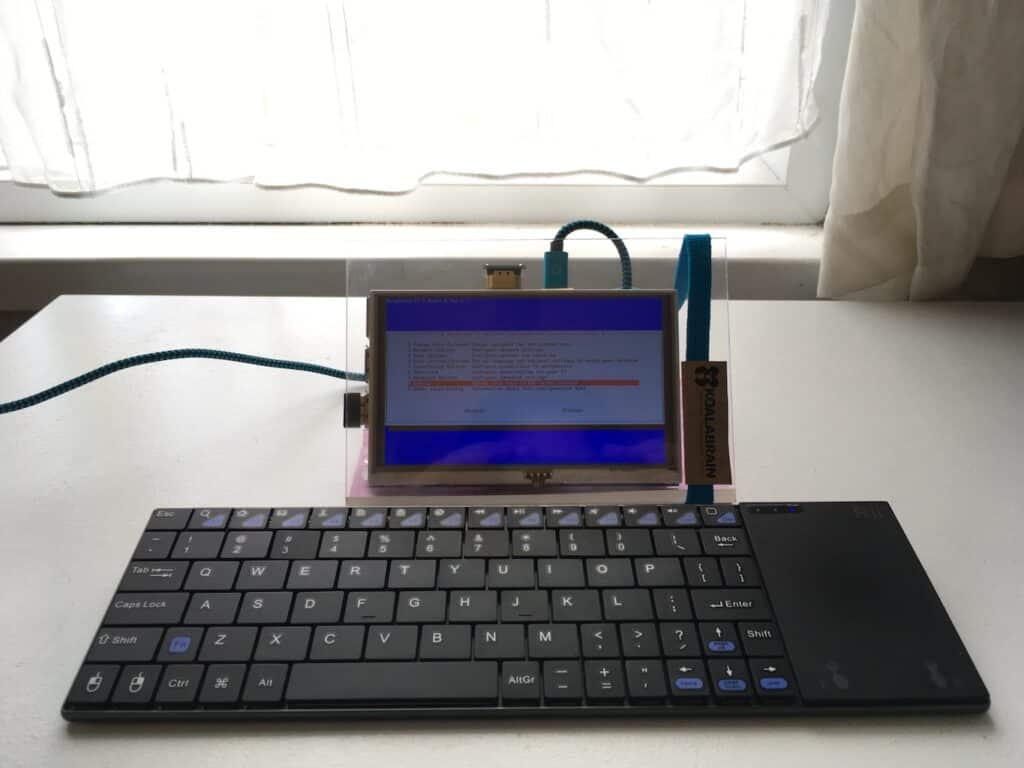
I recently needed to add a case to a Raspberri Pi/5″ LCD combo so that it could sit countertop in a customers business.
No suitable case could be found online, and I don’t have access to a 3d printer, or any tools beyond a sharp knife for that matter.
So – the widget case was born. Two pieces of perspex, some tape, glue, some plastic hinges, and a shoelace. The main goal here was to make everything look intentional – yes it’s crude, but it’s totally meant to be by design, not necessity.
How it was done (if it isn’t obvious from the photos):
Two A5 sheets of perspex were ordered (For around £2 each) – one opaque to act as the base and one transparent to cover the screen, and scored down the centre with a sharp knife. Standing on them snapped them cleanly into A6 sheets which were the perfect size.
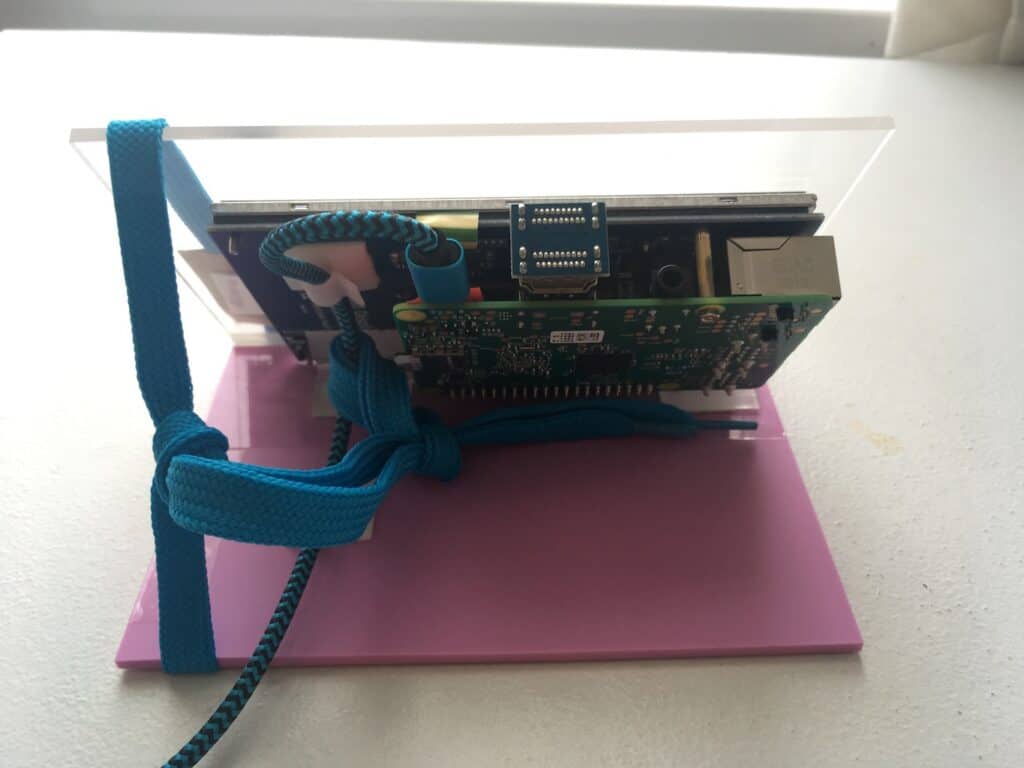
An opaque and a transparent sheet were then taped together with some heavy duty tape on one side while laying flush and flat on a table. They were then closed like a book, and white electrical tape was added to the as-yet untaped side to form a tidy hinge. The white side will face outwards so the joint can’t be seen.
Plastic hinges (About £2 for 10 on eBay) where then superglued at an appropriate angle and left to dry. These will hold the screen up. They were then double sided taped to the back of the LCD screen and to the opaque piece of perspex. This leaves the screen held at a rigid angle to the base with the transparent screen cover flapping about for the moment.
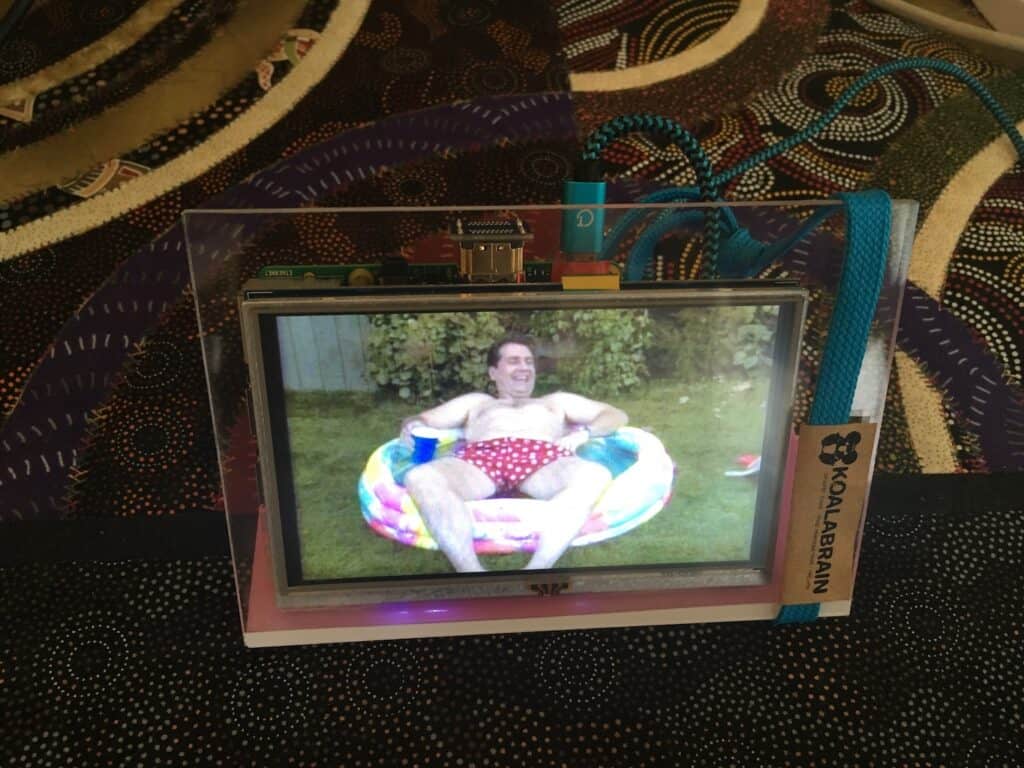
In this case, a touch screen was used, but touch isn’t required in our usage scenario so we’re just covering it to protect it from grubby fingers.
To keep the transparent front section from flopping forward every time someone walks past, a shoelace is simply tied around the whole enclosure, kept in place with some tape on the underside and a brown paper sleeve at the front, which the shoelace passes through and is double sided taped to the clear perspex.
Rubber feet from the discount isle at the supermarket were added to the bottom to stop it slipping about.
Final touch, a matching electric blue USB cable to provide power, held in place with an adhesive cable tie (again, about £2 for 10 on eBay).
All up, this cost me around £10 to put together, with parts left over to make another.
This was a simple way to get a prototype device up and running in a (moderately) presentable manner. It could also be used to make a nifty looking photo frame, or resource monitor for your workshop.