Fixing Issues With the Nintendo Switch Right Joycon
I have, along with others I’ve found online, encountered issues with the right joycon on my Nintendo Switch.
Initially, the LED which displays the controller number up and died, and the pairing button would work intermittently. Then, the joycon would begin to fail to connect to the console while it’s physically attached in handheld mode.
Before buying a new set of controllers I decided to investigate and see if an easy fix was available.
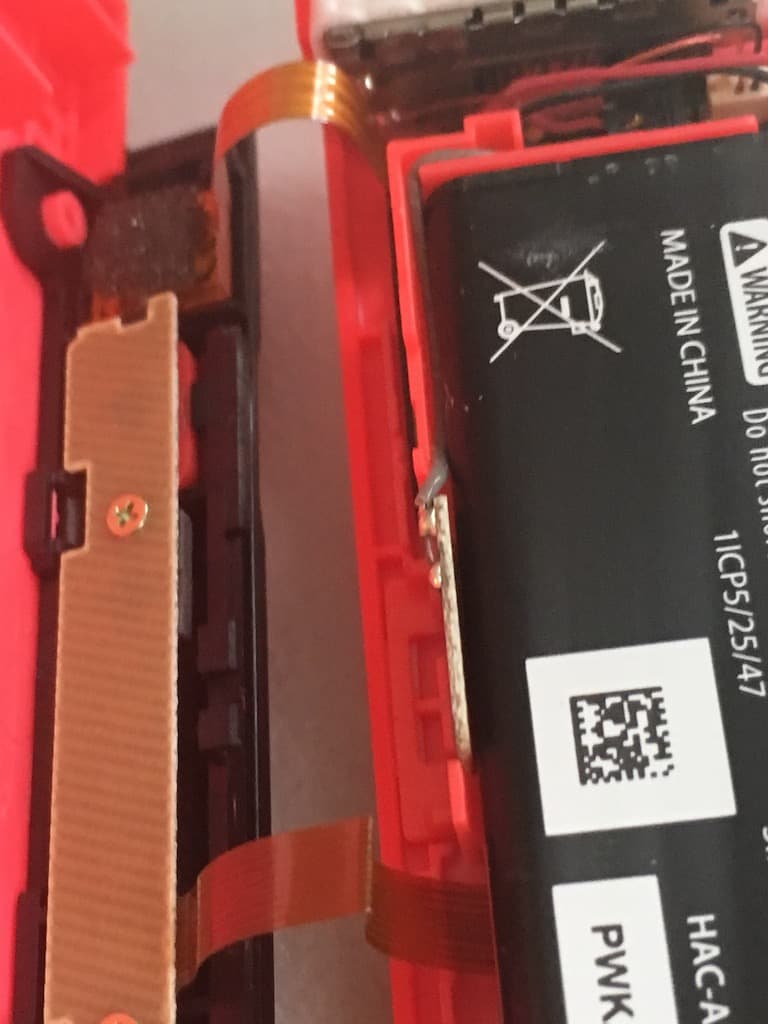
After opening the controller with a tri-wing screwdriver (the same Nintendo used on their 3DS and other consoles), the issue became apparent. A ribbon cable is pinched between the battery and the casing. Over time as the controller is used, slight movements probably cause side to side friction slowly shearing it. This was verified by moving the cable about and watching the LED on the controller flicker on and off as the connection was broken in the bent section.

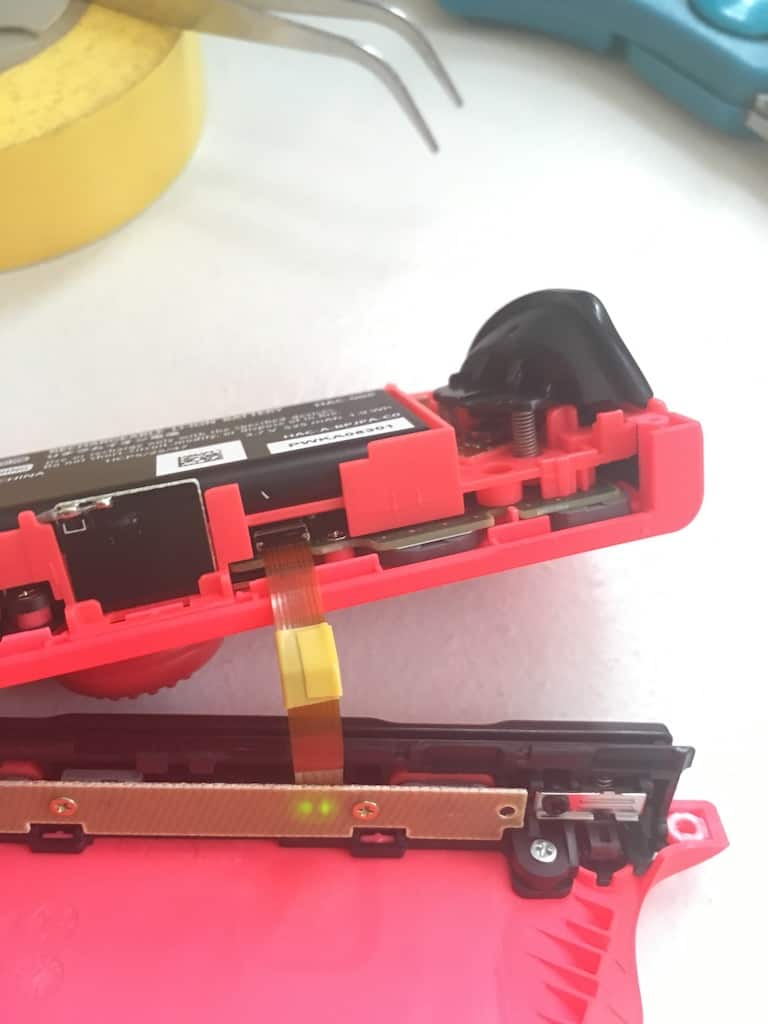
Compare the healthy cable at the top of the above image to the severly bent one below. The lower cable is the one we’ll be moving – first, I re-enforced the bent section with some electrical tape, ensuring the connected LED was a solid green after re-enforcement.

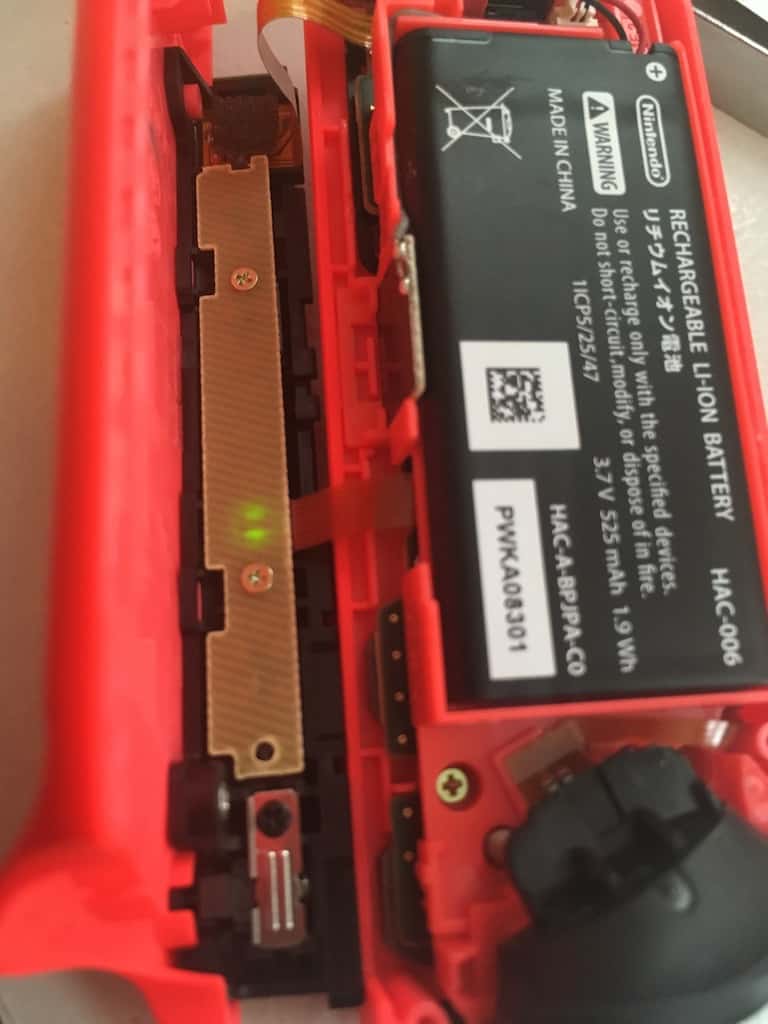
By unscrewing the three bronze screws which hold the battery compartment in place, the ribbon can be re-positioned underneath the battery compartment. You’ll want it folding back over itself, effectively reducing the length of the cable sticking out so that the cable no longer has to fold over the top of the battery when the controller is closed.
The compartment can then be screwed back in place, being careful not to let the ribbon slip out of it’s new position. Make sure the controller is connected while you do this so you can watch the LED while you close the controller – if the LED goes out, the cable has fallen out of position.

The controller can then be re-assembled, and (in my case) now works perfectly.