Fast, cropped and rotated scans of coins and other collectables for listing on eBay, etc
In a past life I would scan, crop, rotate and rename thousands of coin images, front and back, for catalogue print and eBay.
This took up time, and wasn’t exactly exciting. I had a recent project which required more coin scanning and I decided to do something about streamlining the process – and created CoinScanner Pro (a somewhat 90s throwback name to when all software was ‘Pro’)
More information at the CoinScanner Pro page at koalabrain.com
CoinScanner Pro was used to create the high quality print images for The Coin Starter Kit book. The amount of time saved using CoinScanner over generic scanning software was substantial.
Below is an example run through on using the application to create a batch of scans.
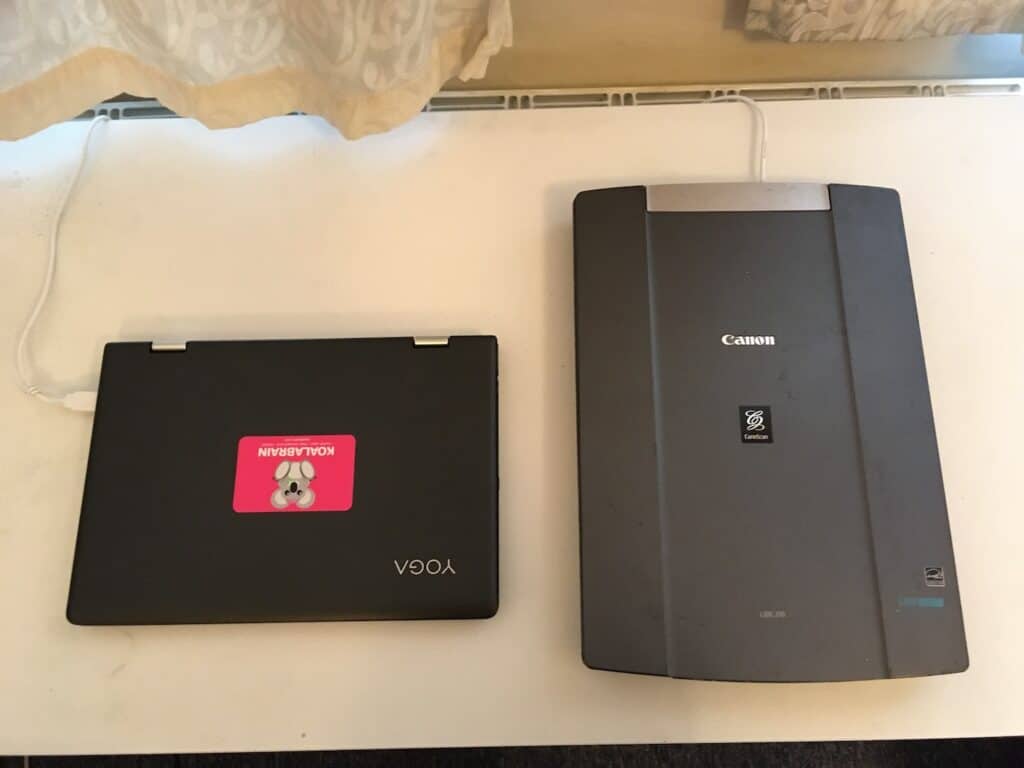
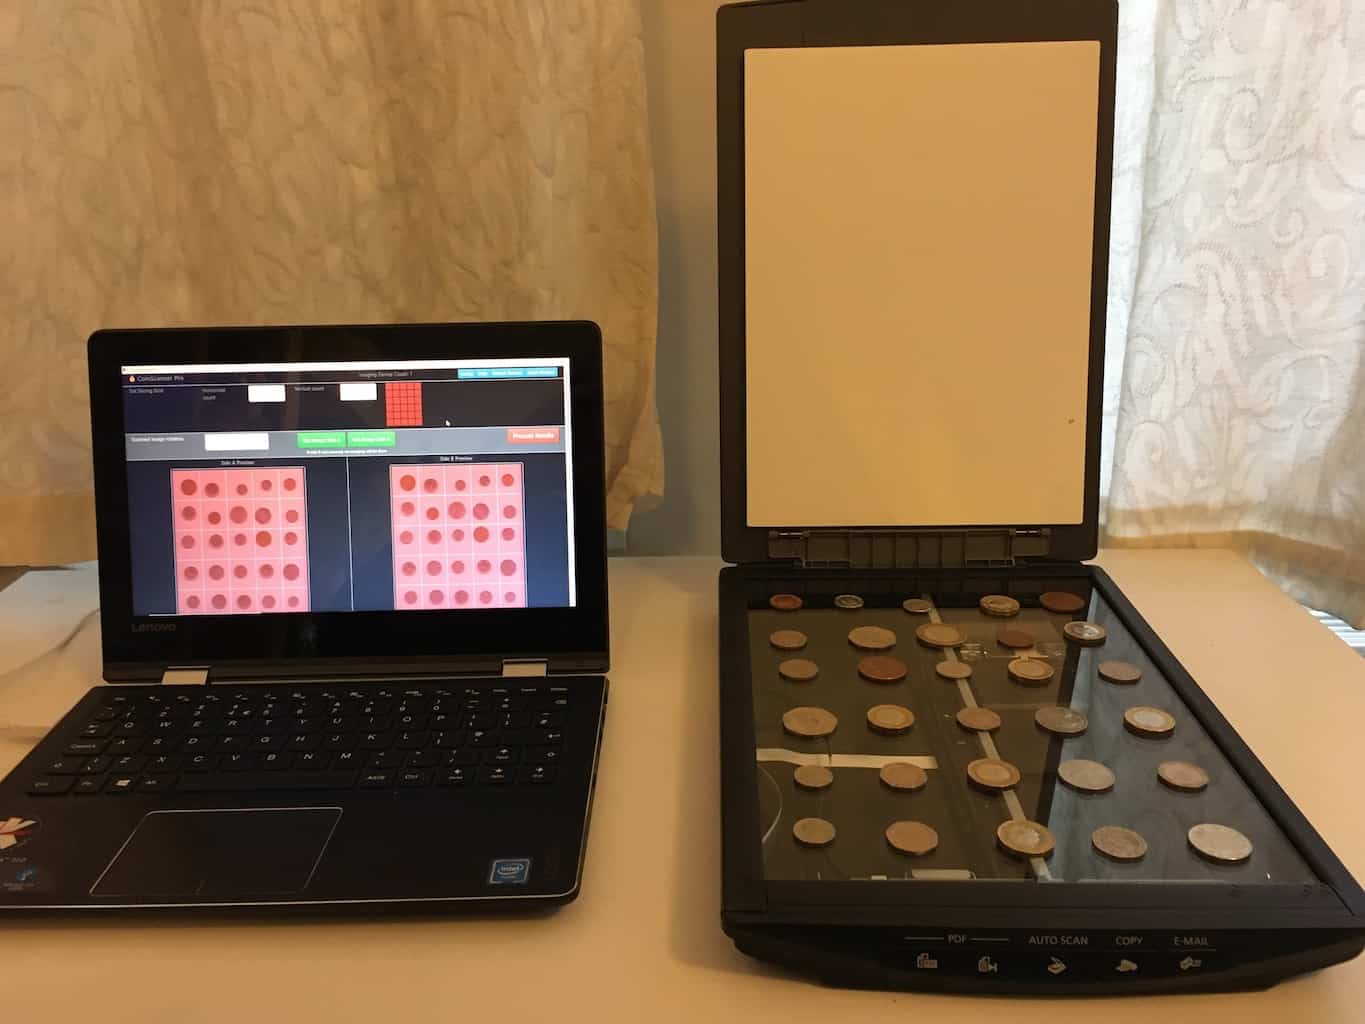
Your tools – a computer running Windows 10, and a flatbed scanner.
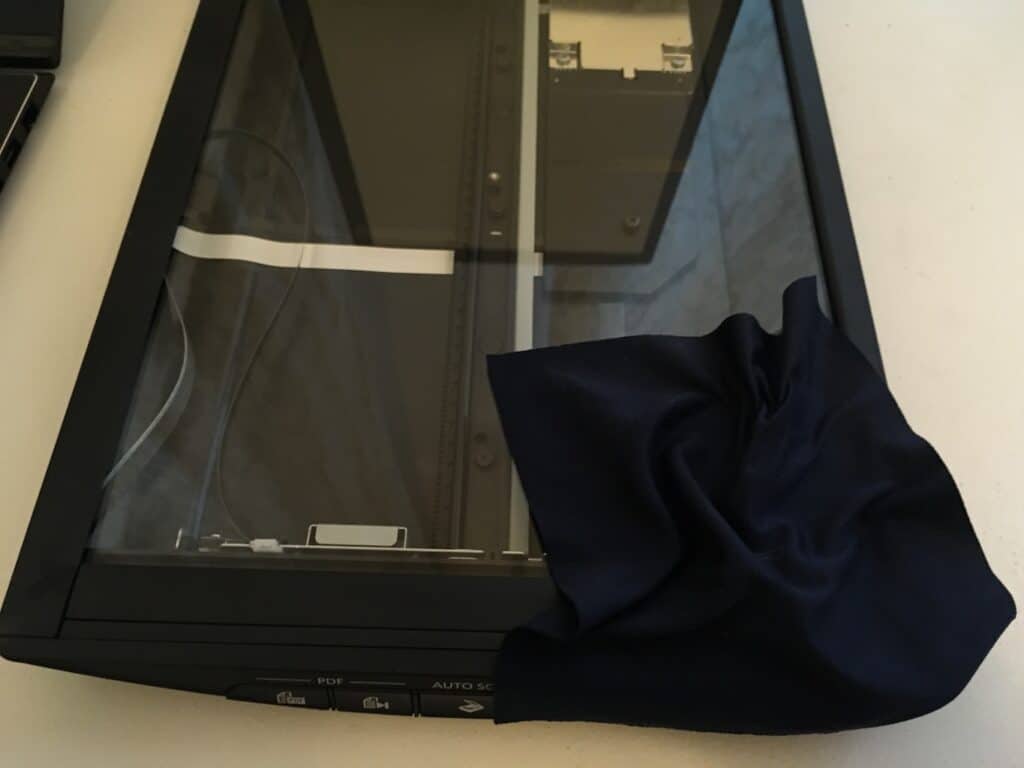
The scanner surface must be clean. Any imperfections on the glass will appear as if they are on the item you’re scanning, making it less appealing to buyers.
Over time, after coins have been unavoidably dropped and dragged across the scanner surface, scratches will appear. You may need to polish the glass periodically with a professional solution. Toothpaste can work to buff out small scratches too, if you want to experiment.
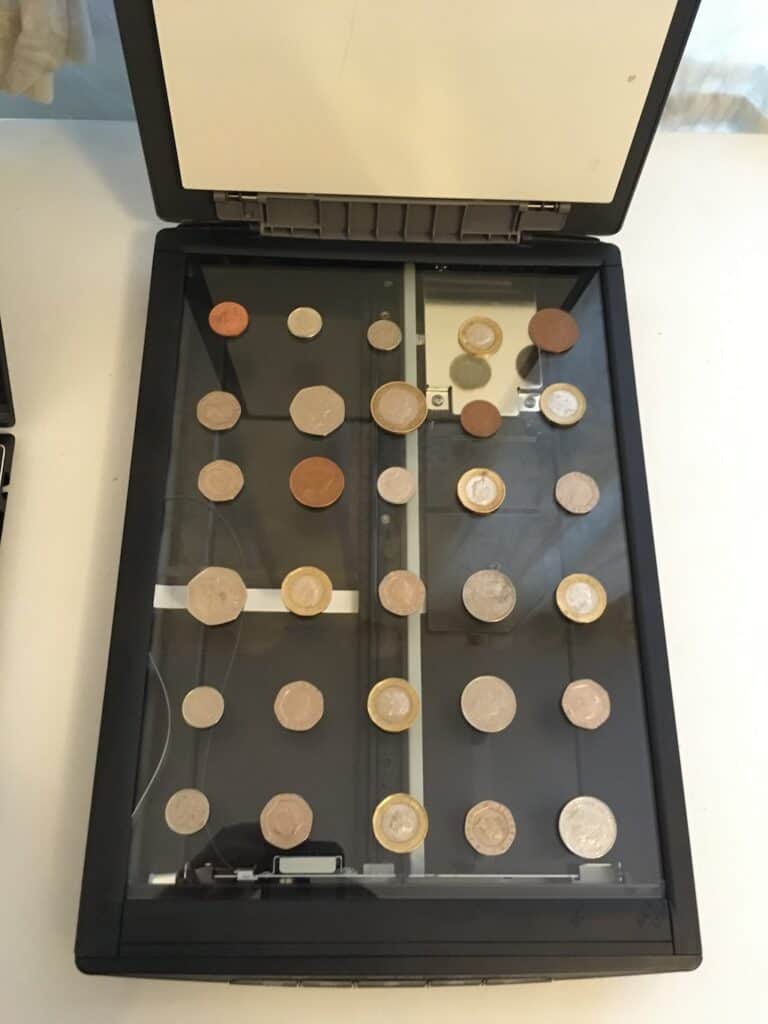
Arrange your coins on the scanner plate in an evenly spaced grid. After a few plate fulls of coins you’ll get pretty good at spacing them correctly. If not, you can always print out a grid on an overhead projector transparency and lay that on the scanner to assist.
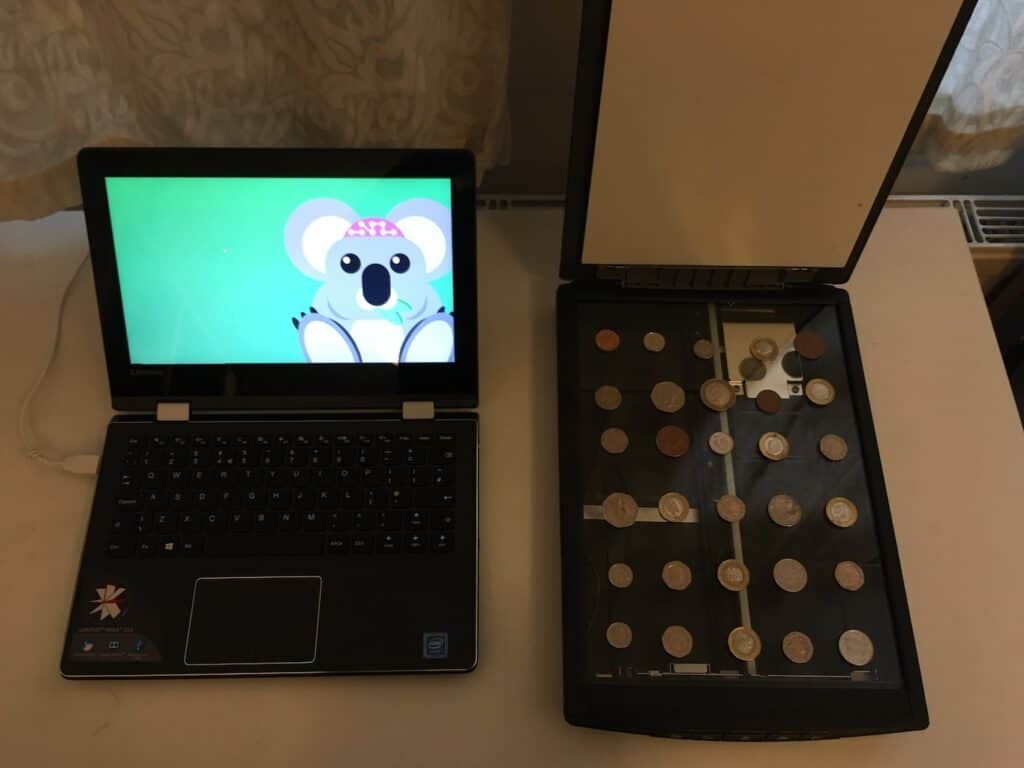
Ready to scan! Close the lid and open CoinScanner Pro

This is the main CoinScanner Pro screen. On first use, click on the ‘Config’ button in the top right.
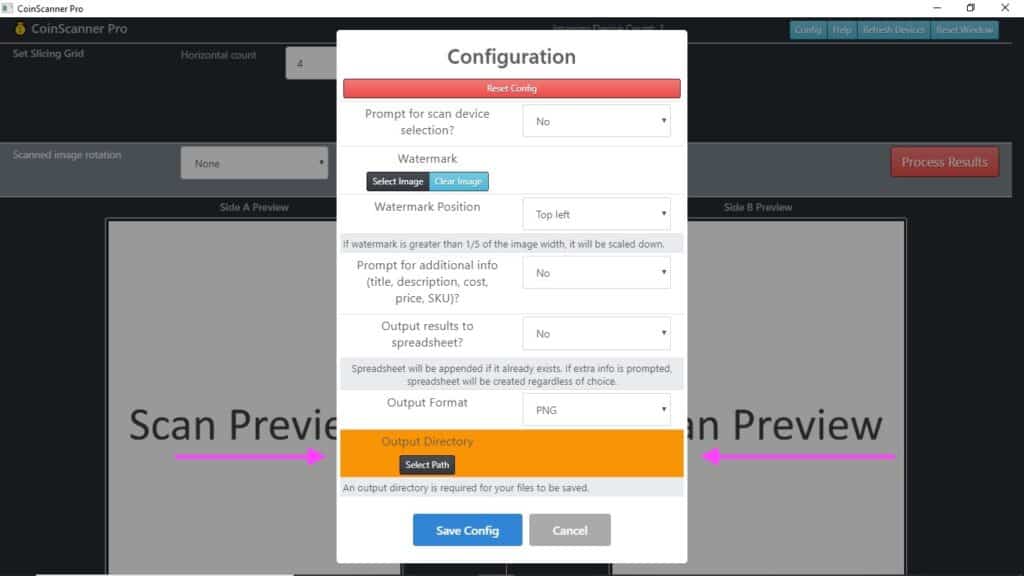
You must set the Output Directory before any scanning can be done. Once set, go ahead and set any other options you like, and save the config.
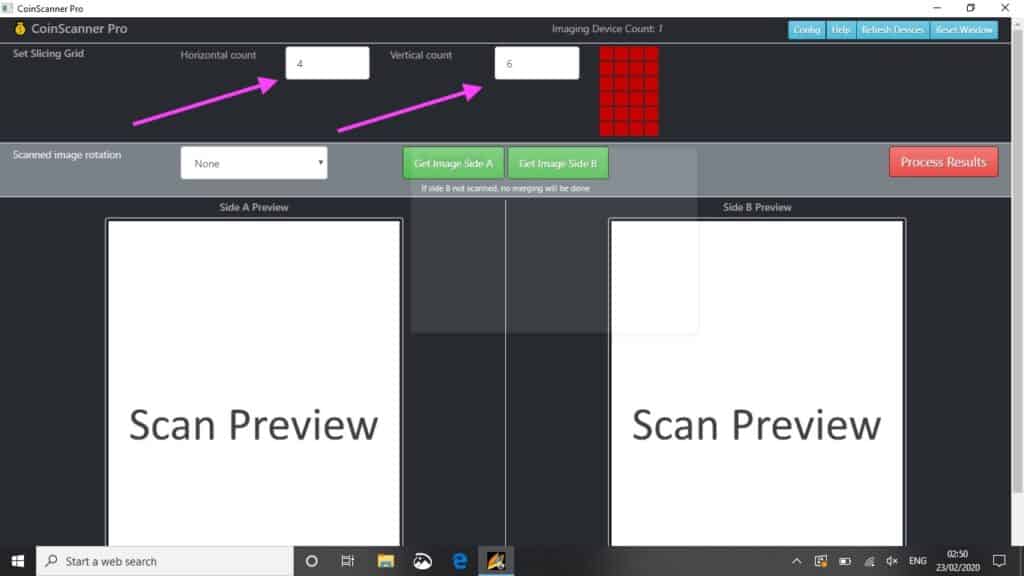
Set the Horizontal and Vertical count to match the number of coins you’ve placed on the scanner. The application will split the image result along a grid matching this, slicing the scan into individual coin images.
You can optionally rotate the image if you have oriented your coins in a certain manner.
When this is set up, click on the ‘Get Image Side A’ button.
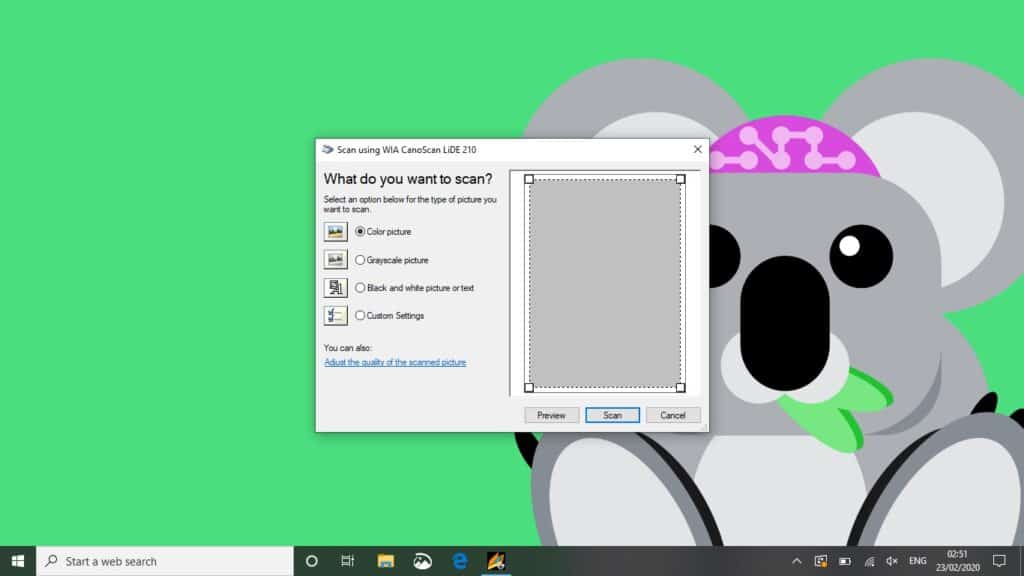
You’ll be presented with the Windows 10 scan prompt. There’s no need to preview the scan as we’ll be grabbing the whole scan area anyway.
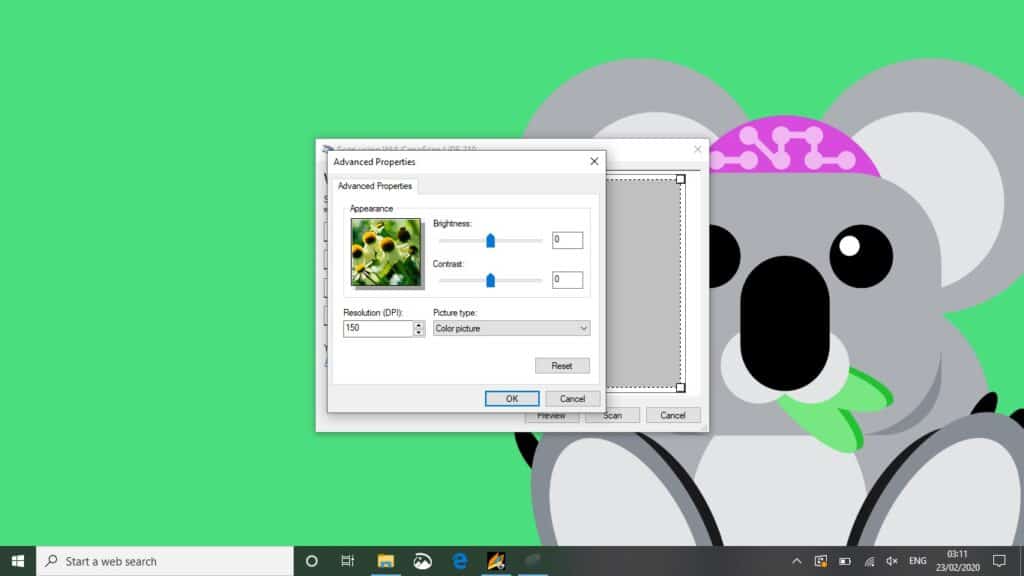
Click on ‘Adjust the quality of the scanned picture’. I scan at at least 300DPI. 300DPI is a press quality scan at 1x magnification. If you’re planning on showing a magnified image, I’d scan at 600DPI. This makes for big files, but they look attractive and show the full condition of the item being scanned.
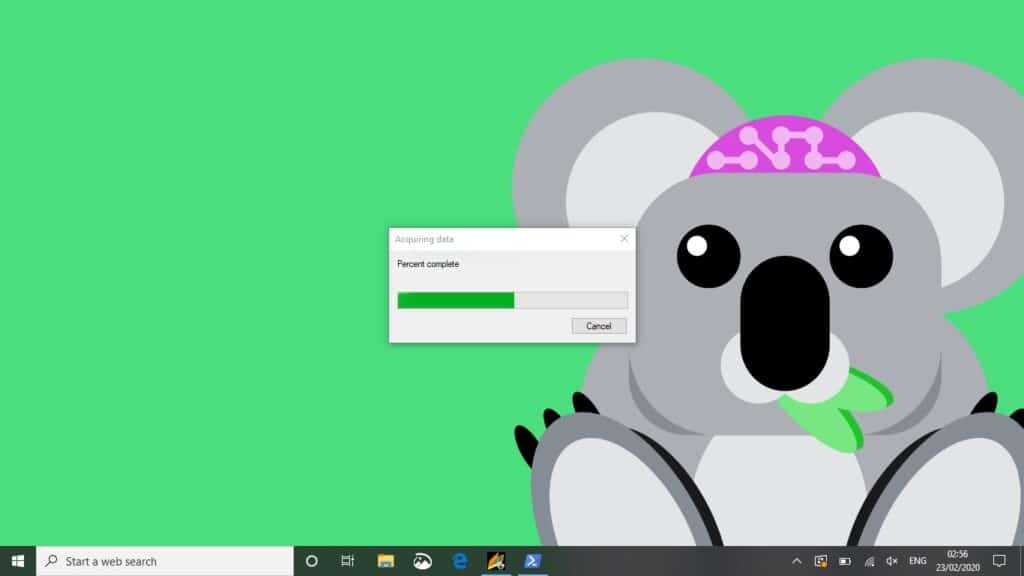
Click OK and then go an then Scan the image.
CoinScanner Pro in action! You can see the coins have been split according to the set grid, and the evenly spaced coins fall into their own cropped image squares.
After scanning one side of the coins, you’ll need to flip them to scan the other side. A post-it note, folded in halve (glue side in) is an ideal thickness for sliding under the coins to get some leverage and quickly flip them all over.
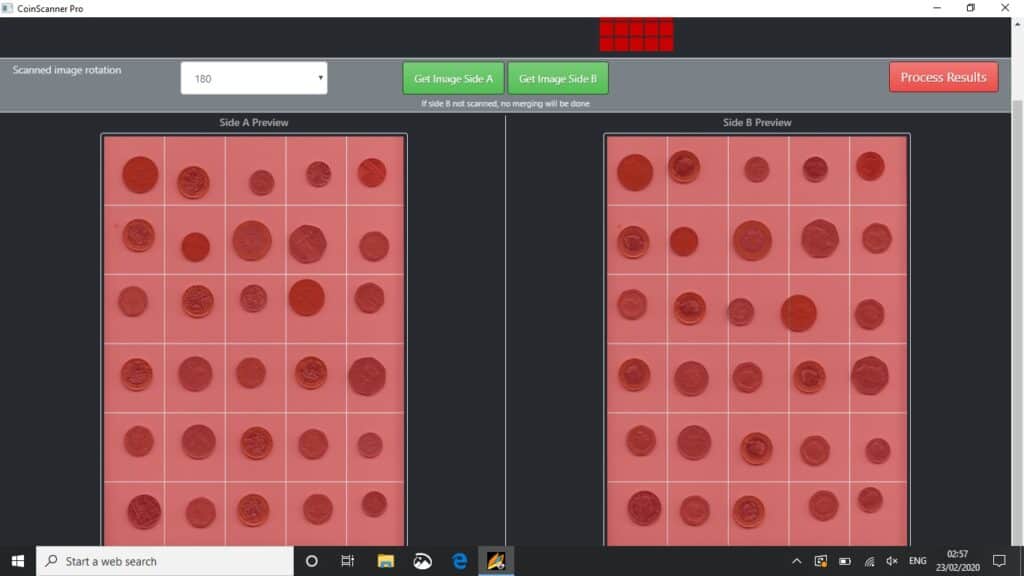
Once flipped, click ‘Get Image Side B’ to scan the other side.
When both sides are previewed, you’re ready to apply the final crop and rotation to the coin scans and define any extra info you want included with them.
Click on the red ‘Process Results’ button to do this.
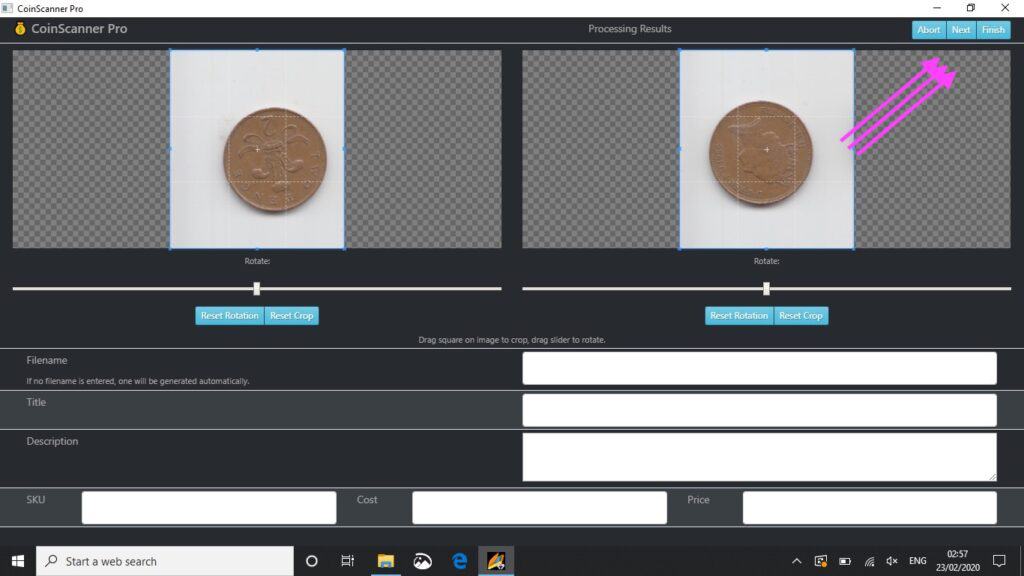
You’ll now see the preview and info screen. You can navigate between the split images using the buttons in the top-right corner.
If you click ‘Finish’, any images following the current image in view will be discarded. This is useful if you haven’t scanned a full plate of coins and have blank images at the end.
Don’t worry about the preview size of the images – they will be cropped at the full resolution they were scanned at.
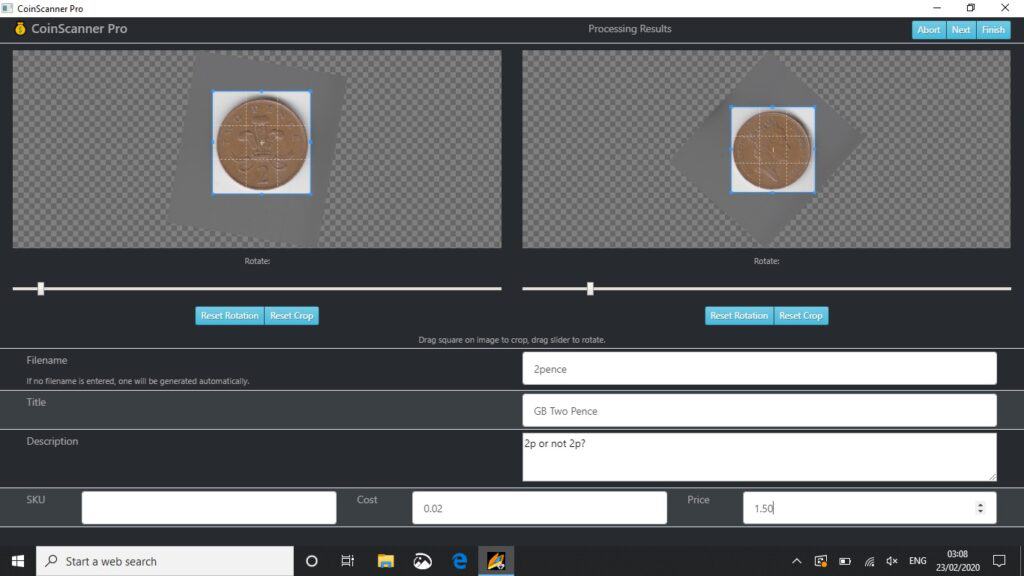
Drag the two rotation sliders to individually rotate the coins
Drag the crop box on the image preview to set the image crop.
Optionally set a file name, and if enabled, any extra product info which will be recorded in an excel spreadsheet alongside your results.
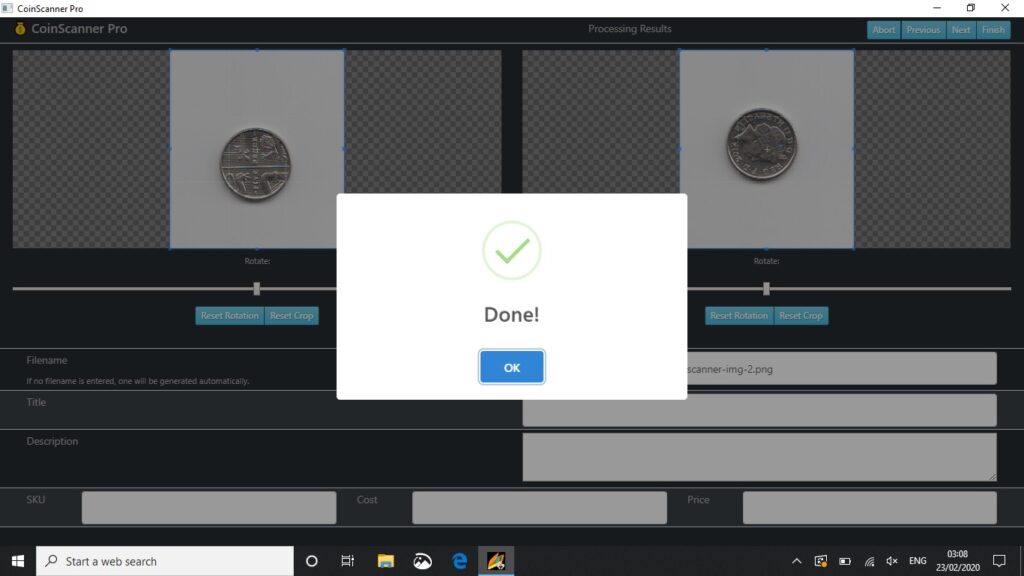
When you click ‘Finish’ the results will be rotated and cropped as you defined on the info screens at their native resolution.
The resulting files will be saved in the Output Directory as set in the Config earlier.
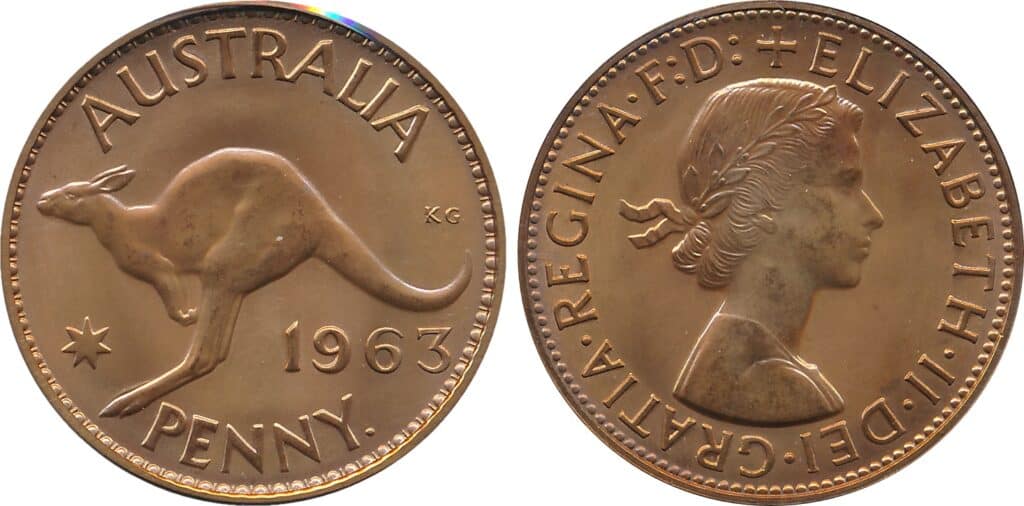
An image produced from CoinScanner Pro.
Coins scanned as-is on a flatbed scanner provide a good representation of the product and condition, and rarely require alteration beyond cropping and rotating. However on the odd occasion colour adjustments are required, I recommend Irfanview – a free photo editing tool.
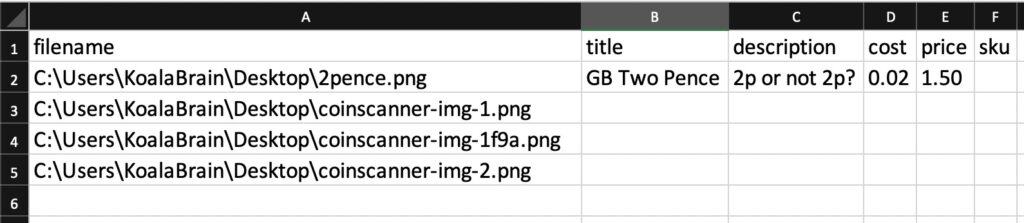
If you elected to output the results to a spreadsheet, you’ll get something like the above excel file.
Happy Scanning!